Learn How To Use a Joint Roller - The Stoner Guide to Getting High

Read on for easy steps!
Collect Your Materials
First, gather all the necessary materials for rolling a joint. This includes rolling papers, a weed grinder, herb, and a crutch to hold the joint.
Rolling papers
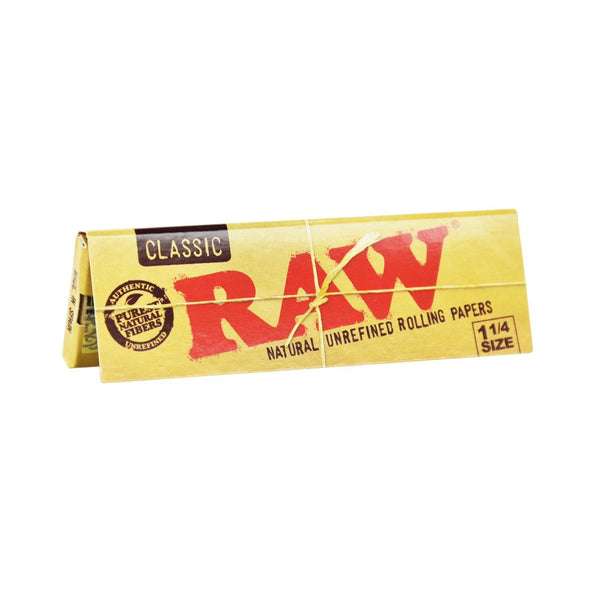
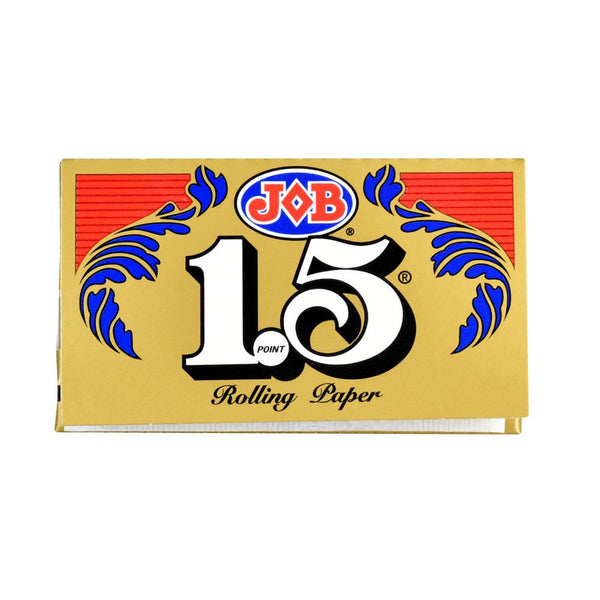
Rolling papers are key for rolling a perfect joint. Choose thin, high-quality papers that stick well once you lick the glue. They come in different sizes, so pick one that fits your smoking style.
Hemp, rice, or flax materials offer a smooth burn and less harsh smoke.
Make sure the paper's adhesive strip faces you before starting to roll. This ensures a tight seal around your herb for an even burn. Rolling papers vary in flavor too; some prefer unflavored ones to taste the pure herb essence, while others enjoy a hint of mint or fruit to enhance their experience.
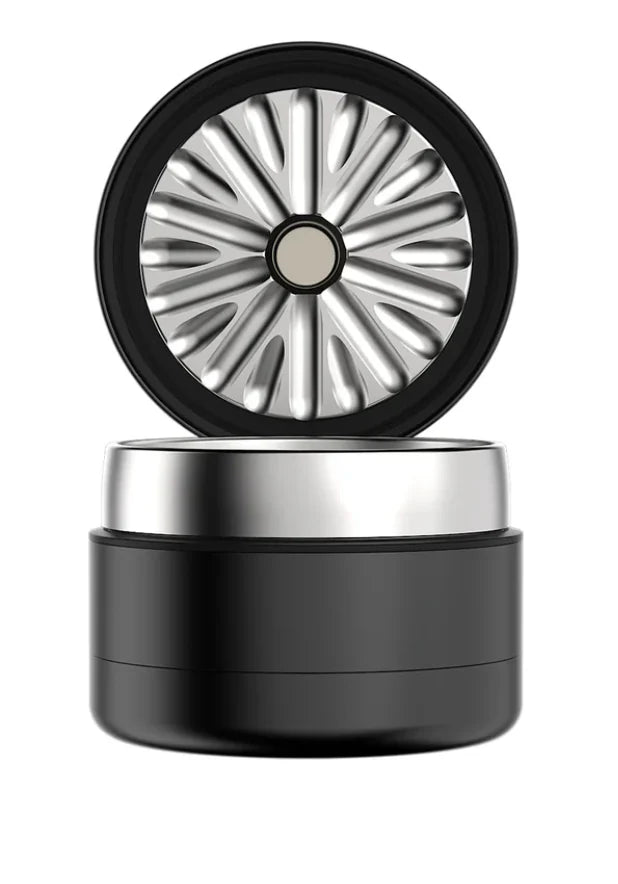
Weed grinder
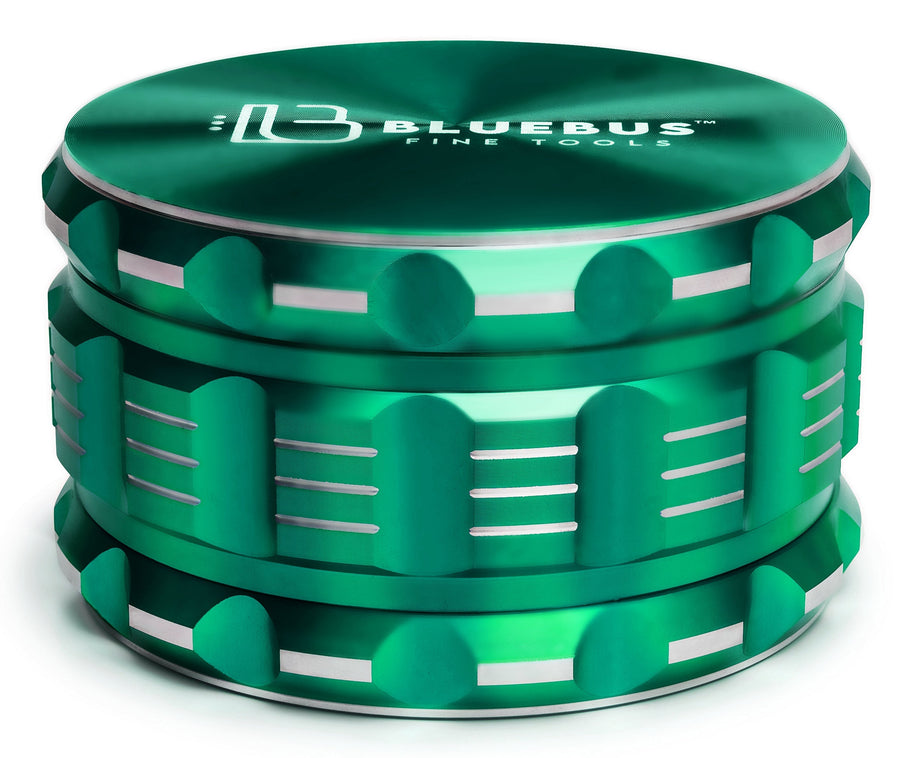
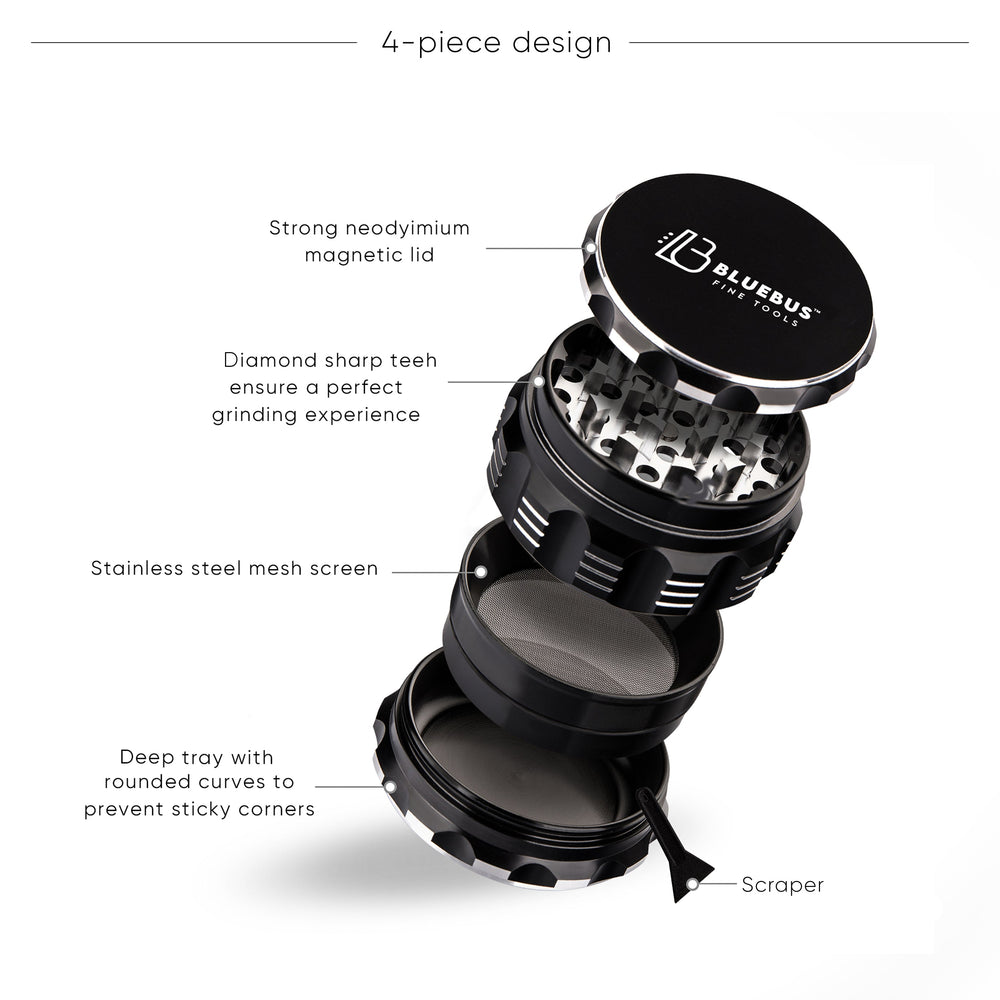
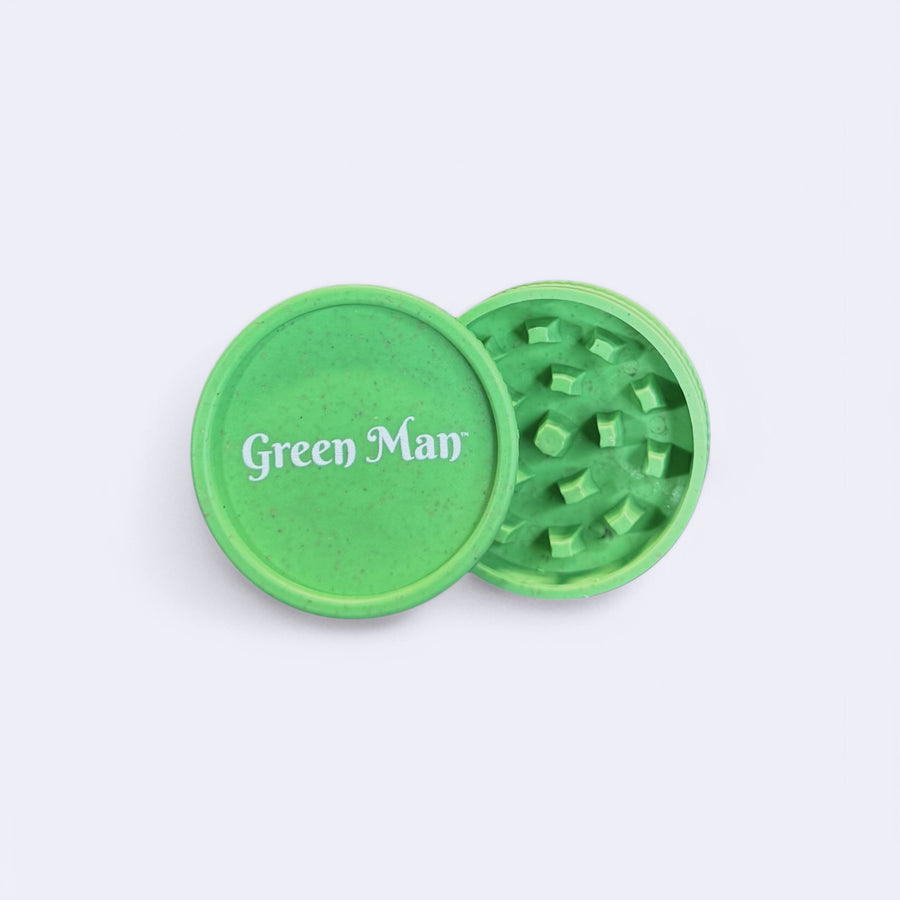
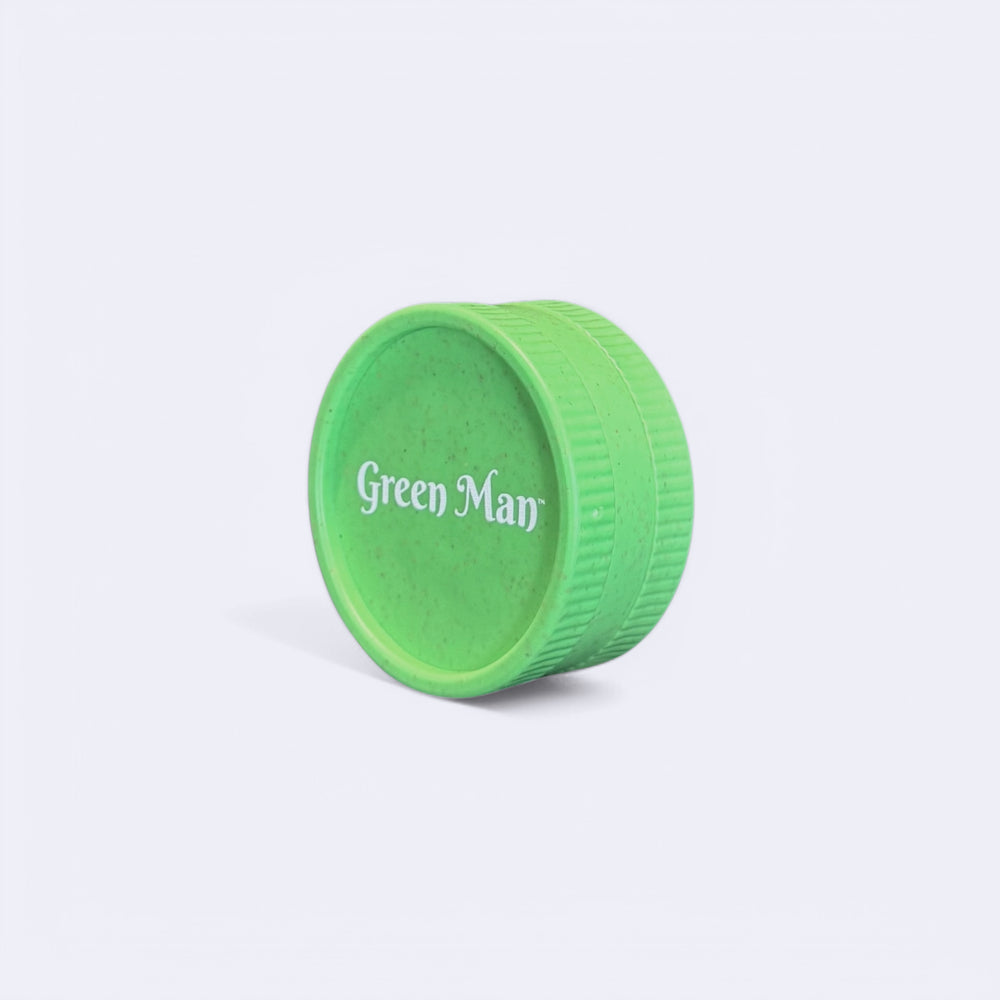
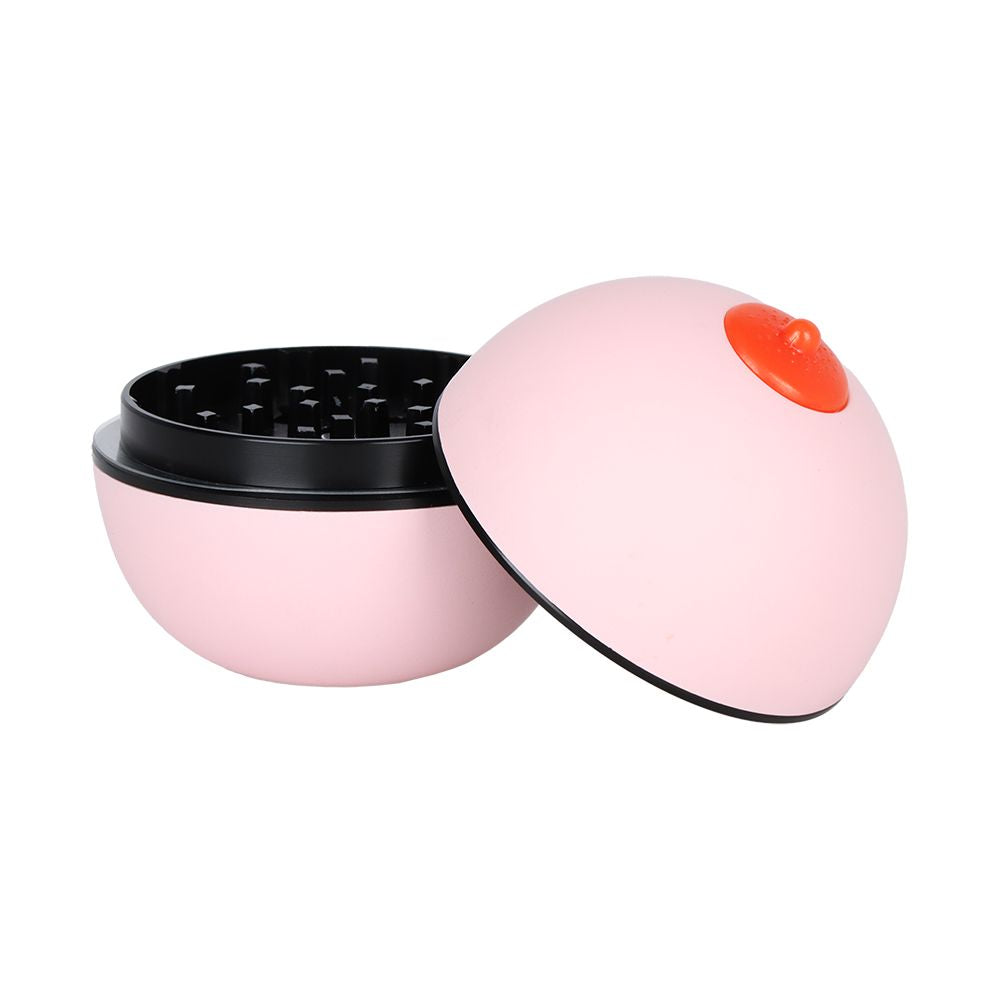
The weed grinder is essential for breaking down your herb into a fine consistency, making it easier to roll. Once you've collected your marijuana, use the herb grinder to finely chop it up for a smoother and more even burn in your joint.
This step ensures that the rolling process goes smoothly and results in a well-packed joint without any clumps or uneven burning, enhancing your overall smoking experience with better flavor and smoke quality.
Once ground, load the roller with the ground herb ensuring an even distribution within the paper.
Herb
Grind your cannabis using a weed grinder until it's fine. Then load the roller with the ground herb, spreading it evenly for a smooth burn.
Crutch
To make a crutch, start by tearing off a cardboard strip about the width of your rolling paper. Next, accordion fold it into a tight W shape. Roll the remaining paper around it to form a cylinder for stability.
Finally, use your thumbs and index fingers to twist up one end tightly.
Remember not to grind too much herb—just enough to fill the joint evenly and avoid overpacking which can obstruct airflow. A well-rolled crutch ensures that you don't burn your lips or waste any weed.
Using the Joint Roller
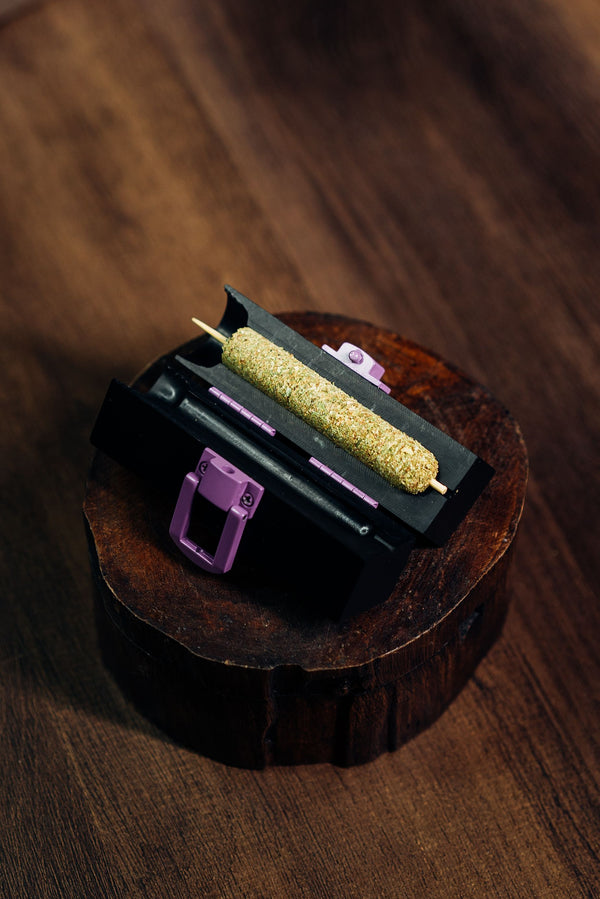
Load the roller with ground herb, roll the paper using your thumbs and index finger, lick the glue, and finish the joint. Read on for more tips on improving your rolling technique.
Loading the roller with ground herb
Load ground herb into the roller chamber evenly. Use your fingers to distribute it smoothly, avoiding overpacking. Ensure the herb is distributed evenly and you have ample space at both ends of the roller.
This will help ensure a perfect roll without any spillage or loose spots. Gently pat down any uneven areas with your fingertips before proceeding with rolling the paper.
After loading the herb, begin rolling by gently spinning both rollers between your thumbs and index fingers in a back-and-forth motion until the paper forms around the herb completely.
Rolling the paper using your thumbs and index finger
Roll the paper by pinching it between your thumbs and index finger. Spin the paper back and forth to evenly distribute the herb and create a cylinder shape. Lick the adhesive side of the paper to seal the joint, then use your fingers to firmly twist and finish rolling it up into a tight joint ready for smoking.
Licking the glue and finishing the joint
To finish the joint, use your tongue to lick the adhesive edge of the rolling paper. Smooth down the glue with your fingertips to seal the joint tightly, creating a secure and even finish.
Once dry, twist or tuck in any excess paper at the ends for a smooth and professional-looking hand-rolled joint.
When finishing up, ensure that you carefully lick and seal the edges of the rolling paper using your tongue and fingers for a well-sealed joint that is ready to smoke.
Conclusion
Mastering the joint roller is all about gathering your materials and handling them with care. Then, when the moment comes, load up the roller with ground herb, spin it smoothly between your fingers and lick to seal - voila! You've got yourself a perfectly rolled joint ready to light up.
It's as simple as that for a seamless smoking experience.
FAQs
1. What is a joint roller?
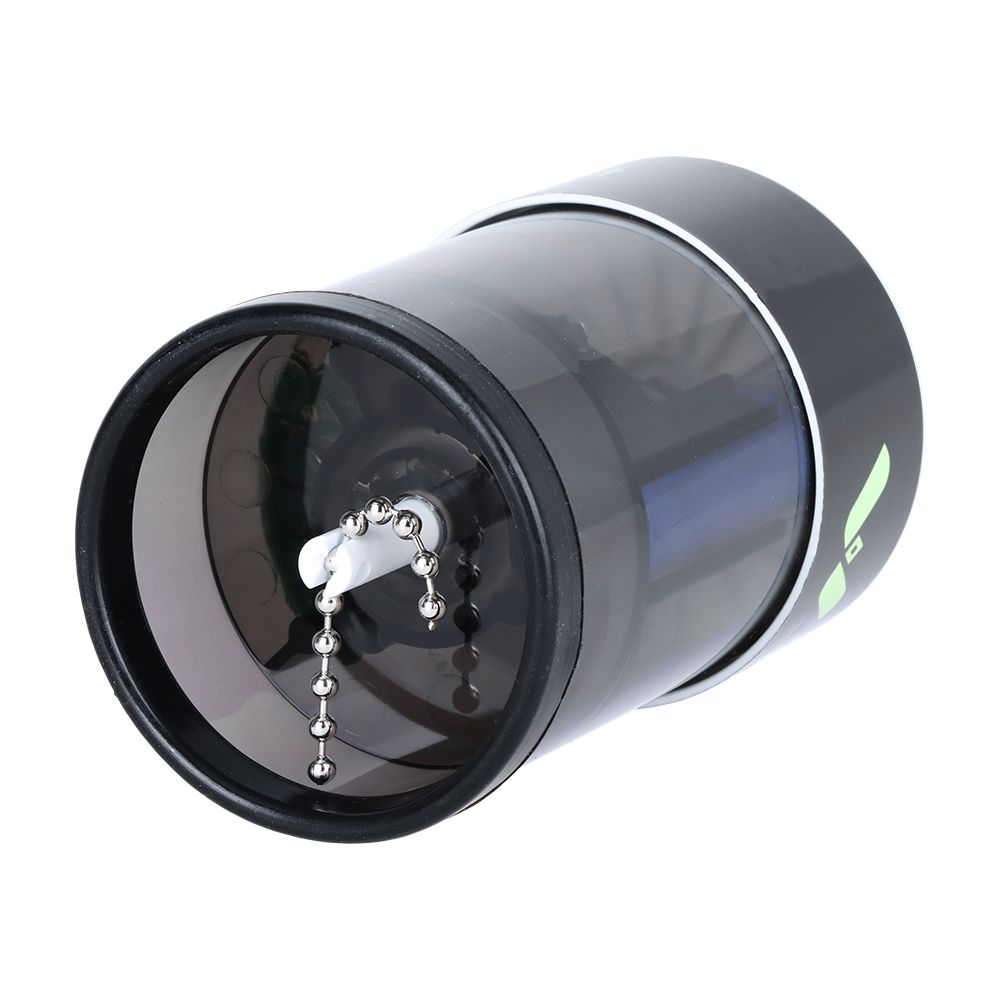
A joint roller, also known as a rolling machine or blunt roller, is a tool used to roll your own smoking accessories like marijuana joints and tobacco.
2. How do you start using a joint rolling machine?
First, place your herb in the rolling tray. Then open the rollers of the machine, spread your material evenly on it, and put in a filter if you use one. Close the rollers and spin them with your thumbs to shape the mix.
3. What's next after putting my materials in the joint roller?
After placing your materials inside and closing it up, turn both handles (or spin with thumbs) towards you several times to pack and shape the inside contents into a roll.
4. How do I get my rolled paper around the herb tightly?
Once your herbs are packed by spinning, insert a sheet of rolling paper between the rollers with its glue side facing you but not touching yet. Spin again until only the glued edge sticks out; lick or dampen that glue strip then quickly finish spinning it through to seal.
5. Can I make different sizes of rolls with my joint roller?
Yes! With various sizes of joint rollers available – from those designed for slim handrolled joints to larger blunt rollers suitable for cones – you can choose how big or small you want your roll-ups to be.









![Vessel Ash [Black] Ultimate Ashtray and Storage - Headshop.com](http://www.headshop.com/cdn/shop/files/96564644-3a7c-45a0-beee-502ebff25cd9.jpg?v=1744308327&width=900)
![Vessel Ash [Black] Ultimate Ashtray and Storage - Headshop.com](http://www.headshop.com/cdn/shop/files/70b136a5-4745-4c98-8247-e6b2350637ae.jpg?v=1744308327&width=1000)

![Vessel - Mill [Beechwood] - Headshop.com](http://www.headshop.com/cdn/shop/files/MILL_GUNMETAL_BEECH_COLLAPSED_FRONT_800.jpg?v=1744308513&width=900)
![Vessel - Mill [Beechwood] - Headshop.com](http://www.headshop.com/cdn/shop/files/MILL_GUNMETAL_BEECH_EXPLODED_FRONT_SHADOW_800.jpg?v=1744308513&width=1000)
![Vessel - Ember [Concrete] Astray - Headshop.com](http://www.headshop.com/cdn/shop/files/20220106_EMBER_CONCRETE.jpg?v=1744309874&width=900)
![Vessel - Ember [Concrete] Astray - Headshop.com](http://www.headshop.com/cdn/shop/files/20220106_EMBER_CONCRETE_WITH_AIR.jpg?v=1744309874&width=1000)
