How to Make a Vape Pen at Home: A Step-by-Step Guide

Making your own vape pen at home can seem like a daunting task. Are you tired of constantly buying new vape pens or searching for the perfect one to fit your unique tastes and preferences? You're not alone.
Most off-the-shelf options might not meet all your needs, leading many vape users to consider creating their own homemade e-cig. Interestingly, building a DIY vape pen is more straightforward than most think.
This step-by-step guide will walk you through everything from choosing a power source like AA batteries to crafting the atomizer and assembling your very own vaping device. Whether you're looking into making vape juice from distillate or figuring out the quirks of homemade vaping methods, this article has got you covered with practical advice and safety tips.
Crafted for both beginners and experienced vapers, it's time to take control of what you inhale! Dive deep into making your personalized vape pen today.
Understanding Vape Pen Parts
Understand the key components of a vape pen to ensure smooth assembly. This step is crucial in creating a functional and safe vaping device.
Battery
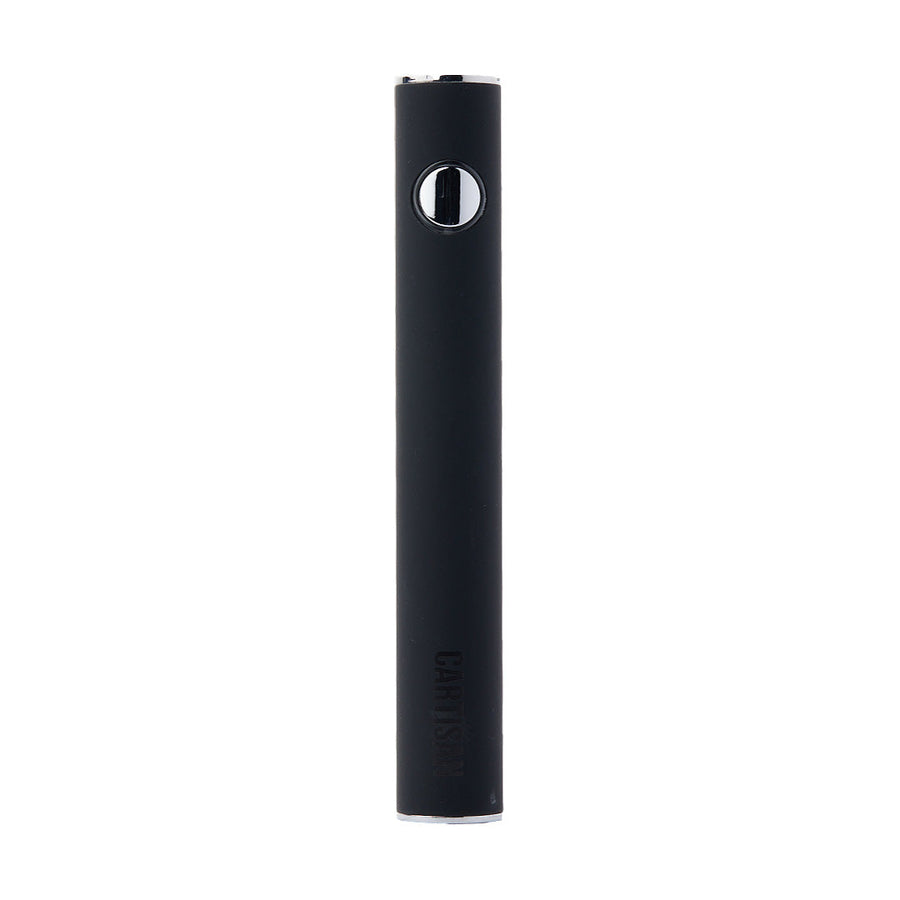
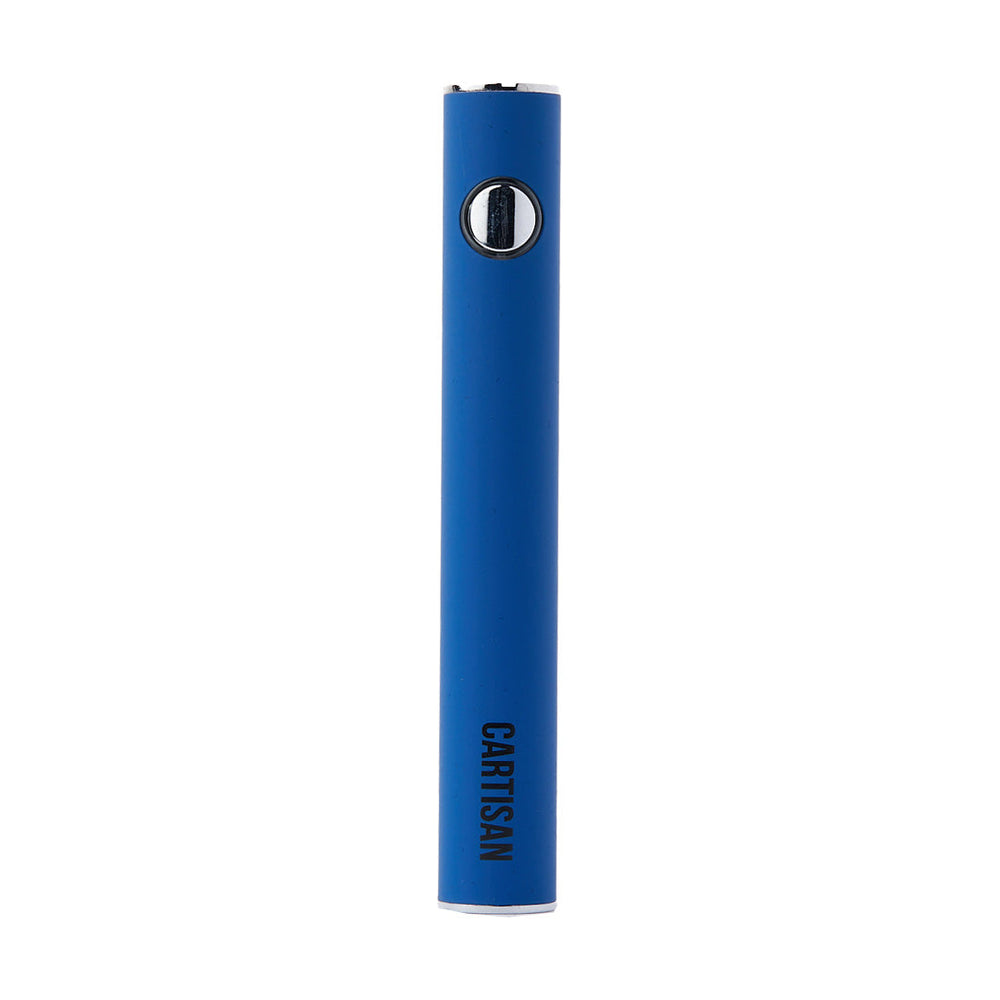
The battery is the heart of your homemade vape pen, powering the heating element that vaporizes juice. For DIY projects, people often use AA batteries due to their availability and size.
But choosing the right power source depends on how much voltage you need for your vaping coil. Making a vape at home means considering battery life and output. A strong, long-lasting battery ensures a steady supply of power for consistent vapor production.
Crafting your own vape pen gives you control over its performance. The key lies in matching the battery to your atomizer's requirements. If you're building a high-resistance coil, you might not need as much power as someone creating a sub-ohm setup for bigger clouds.
Always check that your chosen batteries can safely handle the current draw from your homemade atomizer to avoid overheating or damage.
Building a vape pen is like putting together puzzle pieces; each component must fit perfectly for optimal performance.
Tank/Atomizer
The tank, also known as the atomizer, holds the e-liquid and is vital for creating vapor. It consists of a coil that heats up when the battery activates, turning the e-juice into vapor.
The size and material of your tank can affect the flavor and amount of vapor produced. Understanding how this component works can greatly impact your overall vaping experience.
Now let's dive into how to build a vape pen from scratch.
How to Build a Vape Pen from Scratch
Building a vape pen from scratch involves choosing a power source and creating the atomizer. Assembling these components will help you create your own homemade vaping device.
Choosing a power source (AA batteries, lightbulb, glass jar, etc.)
To power your homemade vape pen, consider these options:
- AA Batteries: Use 2 or 3 AA batteries to provide the necessary voltage for your vape pen.
- Lightbulb: You can repurpose a small lightbulb as a power source. Ensure it's compatible with the needed voltage.
- Glass Jar: A glass jar with a metal lid can be utilized as a power source, offering an unconventional yet effective solution.
- Solar Power: Utilize solar panels to harness energy for your vape pen, providing an eco-friendly option.
These power sources offer flexibility and innovation when building your DIY vape pen, ensuring you have options that best fit your needs and resources.
Creating the atomizer (using a syringe, copper pipe, etc.)
You can create an atomizer for your vape pen using simple materials like a syringe or copper pipe.
- Syringe method:
- Obtain a clean syringe and remove the plunger.
- Cut a small piece of Kanthal wire for the coil and wrap it around the syringe needle.
- Attach the coil to the positive and negative posts on the syringe.
- Insert a small piece of cotton through the coil as wicking material.
- Copper pipe method:
- Cut a small section of copper pipe to use as your atomizer base.
- Wrap the Kanthal wire around the copper pipe, creating a coil with even spacing.
- Secure one end of the wire to the positive post and the other end to the negative post inside the pipe.
- Place a piece of cotton through the center of the coil to act as wicking material.
Assembling the parts
To complete the construction of your homemade vape pen, you will need to assemble the components carefully. Here is a step-by-step guide to assembling the parts:
- Attach the battery: Carefully attach the power source, whether it's AA batteries, a lightbulb, or a glass jar, to provide the necessary energy for your vape pen.
- Connect the atomizer: Fix your homemade atomizer, created using a syringe or copper pipe, securely onto the power source.
- Secure the tank: Attach and secure the tank onto the atomizer to hold your DIY e-juice preparation.
- Check connections: Ensure all connections are secure and there are no loose parts that could cause safety hazards or malfunction.
- Test for functionality: Before using your homemade vape pen, test it to ensure everything is functioning correctly and there are no leaks or issues with vapor production.
As you assemble these parts, remember to handle them with care and attention to detail for safe and effective operation.
DIY E-Juice Recipes
Create your own e-juice flavors with simple ingredients and tools. Follow step-by-step instructions for crafting bespoke vaping liquids.
Basic ingredients and tools needed
To create your own e-juice, you will need the following basic ingredients and tools:
- Vegetable Glycerin (VG) - This is a thick, sweet liquid used as a base in e-juice. It produces smooth vapor and is derived from vegetable oils.
- Propylene Glycol (PG) - This is a colorless, odorless liquid that is responsible for carrying flavor in e-juice. It also contributes to throat hit.
- Flavor Concentrates - These are food-grade flavorings specifically designed for use in e-juice. They come in a wide variety of flavors such as fruit, dessert, menthol, and tobacco.
- Nicotine (optional) - If desired, nicotine can be added to your e-juice. It's important to handle nicotine with care as it is a toxic substance.
- Mixing Tools - You will need mixing containers such as glass or plastic bottles and syringes for accurately measuring ingredients.
- Protective Gear - When handling nicotine or concentrated flavorings, it's essential to use protective gear like gloves and safety goggles to ensure personal safety.
Gather all these ingredients and tools before embarking on making your own DIY e-juice at home!
Step-by-step instructions
To build a vape pen from scratch, follow these step-by-step instructions:
- Choose a power source such as AA batteries, a light bulb, or a glass jar.
- Create the atomizer using a syringe, copper pipe, or other suitable materials.
- Assemble the battery, tank, and atomizer components carefully.
- Prepare DIY e-juice using basic ingredients and tools according to your preferred recipe.
- Remember to prioritize safety by handling batteries and e-juice ingredients with caution.
Following these steps will guide you in creating your own vape pen from scratch.
Safety Tips and Considerations
When making a vape pen at home, safety is crucial. Make sure to handle the battery and e-juice ingredients with caution.
Battery safety
When using a vape pen, always use the specified charger to avoid overcharging and overheating the battery. It's crucial to store batteries in a case to prevent short circuits caused by contact with metal objects.
Regularly inspect the wraps for tears or damage to avoid potential hazards from exposed batteries.
Always ensure that your battery is compatible with your vape pen components, as mismatched equipment can cause serious safety risks. Understanding proper battery handling is essential for safe vaping practices.
Awareness of these key considerations will help you safely enjoy your vaping experience without any mishaps or accidents.
Proper handling of e-juice ingredients
When handling e-juice ingredients, ensure to use gloves and protective eyewear to avoid skin contact. Store ingredients in child-proof containers away from heat and light. Measure the components precisely as per the recipe instructions to maintain consistency in flavor and nicotine levels.
These precautions are essential for your safety and for creating a quality vaping experience. Now let's move on to our next topic: "Advice for beginners".
Advice for beginners
New to DIY vaping? Start with safety. Always research and understand the components you're using. Safety first! Understand Ohm's law to prevent battery explosions or short circuits.
Use high-quality materials like Kanthal wire for coil building, and get familiar with your power source options, like 18650 batteries or regulated mods. Ensure proper ventilation when mixing e-juice ingredients.
Ready to dive in safely? Let's craft a vape pen that suits your needs!
Conclusion
In conclusion, you've learned how to make a vape pen at home with ease. Now, you can assemble your own vaping coil and create personalized e-juice like a pro. Did you realize that building a vape pen is simpler than you thought? With practical steps and safety tips in mind, creating your DIY vape pen is efficient and safe.
How do you plan to apply these newfound skills to customize your vaping experience? By crafting your vape pen, you're taking control of the quality and ingredients used, ultimately enhancing your vaping journey! Seek further inspiration from crafters and experiment with different flavors for an even more customized experience.
FAQs
1. How can I make a vape pen at home using the DIY atomizer method?
Using the DIY atomizer method, you can create your own vape pen by following a step-by-step guide which includes vaping coil building and vape pen assembly.
2. What are some homemade vaping options?
Homemade vaping options include making your own vaping coil, as well as creating THC distillate vape juice according to detailed tutorials on building a vape pen.
3. Can I troubleshoot my homemade vape pen if it's not working properly?
Yes, there are guides available for homemade vaping troubleshooting that will help you identify and fix common issues with your DIY vaping coil or other parts of your assembled vape pen.
4. What equipment do I need for making my own vape pen at home?
For crafting your own vape at home, you'll need specific materials and tools outlined in various plans for homemade vapes, including those needed for constructing an atomizer and building a vaping coil.
5. Is there any tutorial available to help me construct my own Vape Pen?
Yes! There are multiple online resources providing step-by-step instructions or tutorials guiding through each stage of the process from planning up to final assembly of your very own crafted Vape Pen.


![Vessel Compass Rise [Obsidian] Vessel Compass Rise [Obsidian]](http://www.headshop.com/cdn/shop/files/631009c0-e68c-4238-9a63-73f14dd1117f.jpg?v=1717545548&width=600)
![Vessel Compass Rise [Obsidian] - Headshop.com](http://www.headshop.com/cdn/shop/files/631009c0-e68c-4238-9a63-73f14dd1117f.jpg?v=1717545548&width=900)
![Vessel Compass Rise [Obsidian] - Headshop.com](http://www.headshop.com/cdn/shop/files/a12c8ff4-4bee-4dc9-b697-542f6130e46e.jpg?v=1717609092&width=1000)
